This weeks RAW-recipe was a raw take on the famous "strawberry shortcake." A recipe that was created for Cilantro Live, the Raw, Vegan restaurant Christine and I worked for, a recipe that Christine is responsible for improving upon. It has been years since either of us has attempted any of these delicious treats. Last night was a whole lot of fun not only to do, but to eat! We even got my meat and potatoes boyfriend, Tyler, to enjoy one as well! From the bottom you'll see an almond "crust," the second layer is a sweet strawberry sauce, the ice cream is a basil flavor made from cashews along with the "whipped" topping. While this dessert is a tad bit of work it's also a whole lot of fun!
You will need to have 3 major appliances for this recipe: 1. a food processor, 2. ice cream machine and 3. a blender. Without those 3 things this will be almost, no, it will be impossible so it's a good idea to make sure you have them. I purchased a great Sunbeam brand, electric, 4 quart ice cream machine the only down side is it does require ice and salt, but was actually pretty quick from start to finish. I received from Tyler, for my birthday/mother's day, a 7 cup Cuisinart food processor that we used for the "crust" and strawberry sauce. The blender is vital for the ice cream and "whipped" topping, and even though the cashews are soaked over night they still need to be blended until they are the consistency of "cream."
Prep. time: 24 hours
"Cook" time: 1-1 1/2
Servings: 6
Cost per serving: $3.75
Ingredients:
(ice cream)
1 1/4 cup cashews (soaked in water, over night in the fridge)
1/4 basil
1/2 agave
Pinch of salt
Water up to 4 cup mark
(whipped topping)
3/4 cup cashews
1 tsp. vanilla
1/8 cup agave
1 tbs. water (Blend until creamy, if it's too thick add 1 Tbs. water)
Directions:
(start the ice cream first)
Soak the cashew in a bowl of water over night in the refrigerator. Drain the water and measure out 1 1/4 cup. Add the cashews, 1/4 cup whole basil leaves, 1/2 cup of agave and a pinch of salt into the blender. Fill the blender up to the "4 cup" mark and blend on "HIGH" for 2-3 minutes or until you have a frothy, light green "cream."
Pour into your ice cream maker and turn on, and work on other components while the ice cream comes together. The ice cream should take 45 minutes to an hour to finish.
Ingredients:
(strawberry sauce)
1 cup chopped strawberries (save 4-6 fresh whole berries for the garnish)
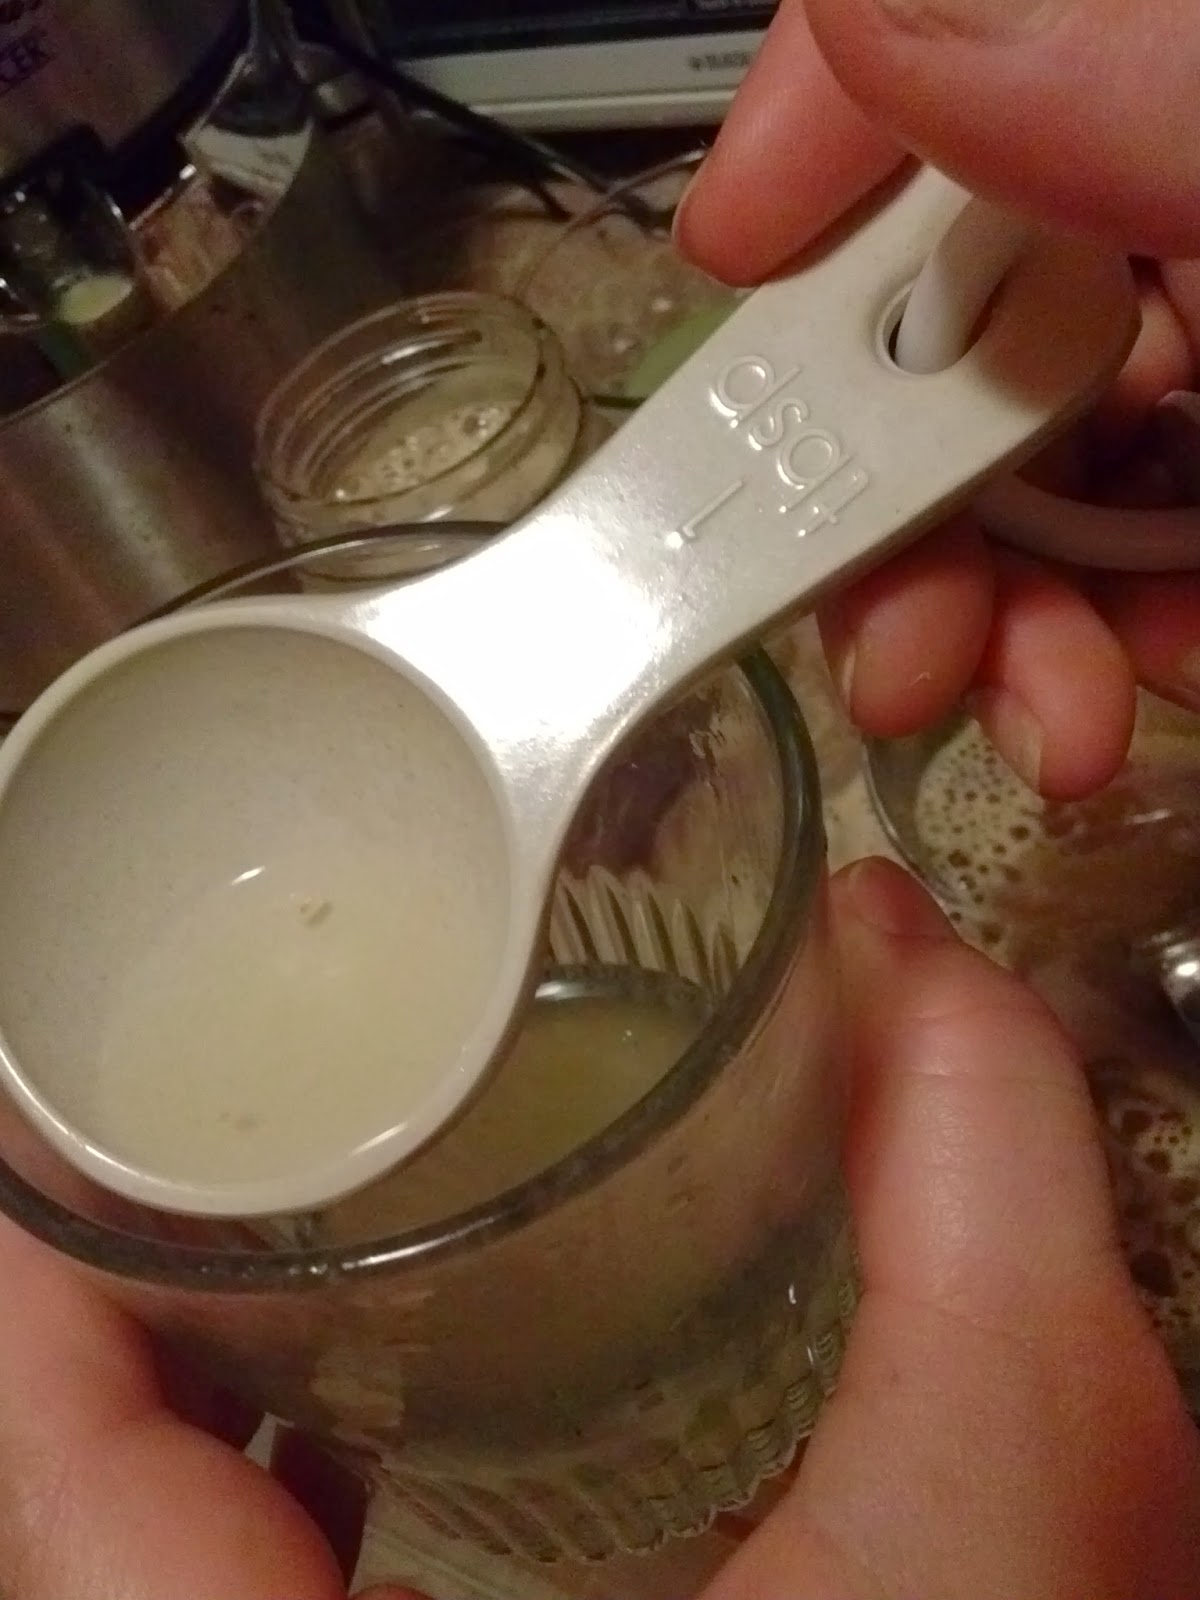
1 1/2 tsp. lime juice
1/8 cup agave
Pinch of salt
Directions:
In the food processor add 1 cup of fresh strawberries, 1 1/2 tsp. of fresh lime juice, 1/8 cup of agave and a pinch of salt. Pulse until the berries are smooth and set aside in a smaller bowl for your next step; the "crust."
Ingredients:
(crust)
1 cups peeled almonds
1 tsp lime zest
1 1/2 tsp. lime juice
1 1/2 tsp. water
Pinch of salt
Directions:
Slightly boil water and pour over raw almonds, let it sit for 20-30 minutes, once the water has turned a brown color and the skins feel "loosened" you can pop the almond out of it's casing. Discard the casings and drain the water. Measure out 1 cup of peeled almonds add to the processor with 1 tsp. lime zest, 1 1/2 tsp. lime juice, 1 1/2 tsp. water and a pinch of salt.
(directions cont.)
The consistency of the almond "crust" should be a loose paste and you should be able to pack it into your hand, but it shouldn't be overly moist.
To assemble your dessert start by packing 2 Tbs. of the almond "crust" into a shallow container, or small parfait cup(that is what we used at the restaurant).
On top of the "crust" add 2 Tbs. of strawberry sauce and remember to save some fresh strawberries for garnishing. We sliced them and added 4-5 fresh pieces to each dessert cup.
To finish add two scoops of the basil ice cream,
dollop of the whipped topping, a sprig of basil leaf
and fresh strawberry slices!
ENJOY!
*Subscribe to this blog for more great health related discussions, and yummy recipes that will go straight to your inbox!


.JPG)
.JPG)
.JPG)
.JPG)
.JPG)
.JPG)
.JPG)
.JPG)
.JPG)
.JPG)
.JPG)